How to Remove Mold From Shower Caulking?
Nidhi Parikh • Dec 27, 2022
Black mold in between your bathroom tiles and on the shower caulking can be an unpleasant sight. Not only that, but it’s even unhealthy for you.
Unfortunately, mold spores are everywhere, and when they get enough moisture and food, they start growing rapidly. A reason why it’s important to attack the problem early on and follow tips to ensure it doesn’t happen again.
The best news? You don’t have to replace your entire caulking to remove this mold. There are far less time-consuming and cost-effective ways to clear the affected area from mold. But first, let’s see everything you should wear for protection while cleaning.
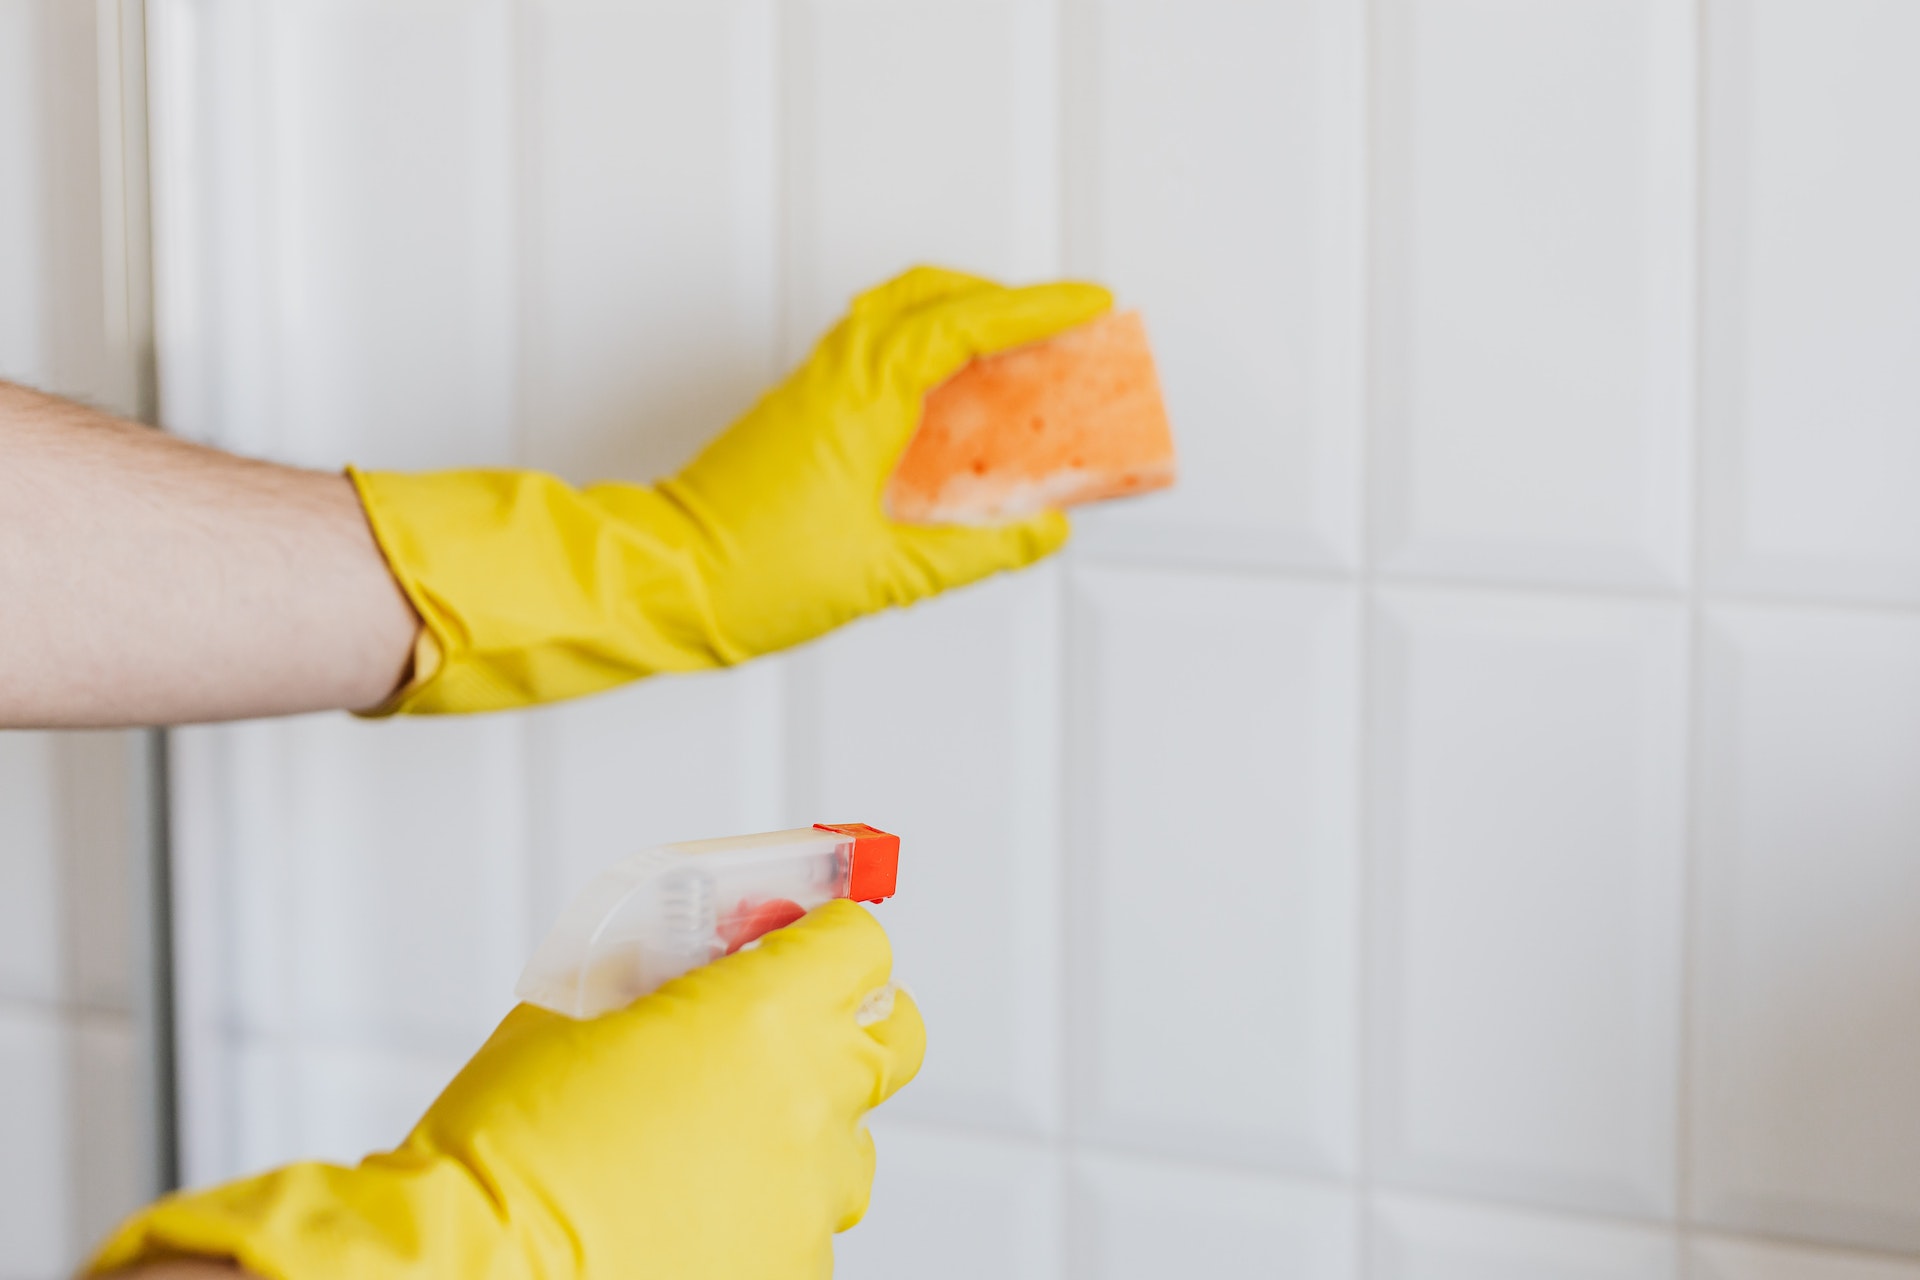
Which protective equipment do you need to use while cleaning mold?
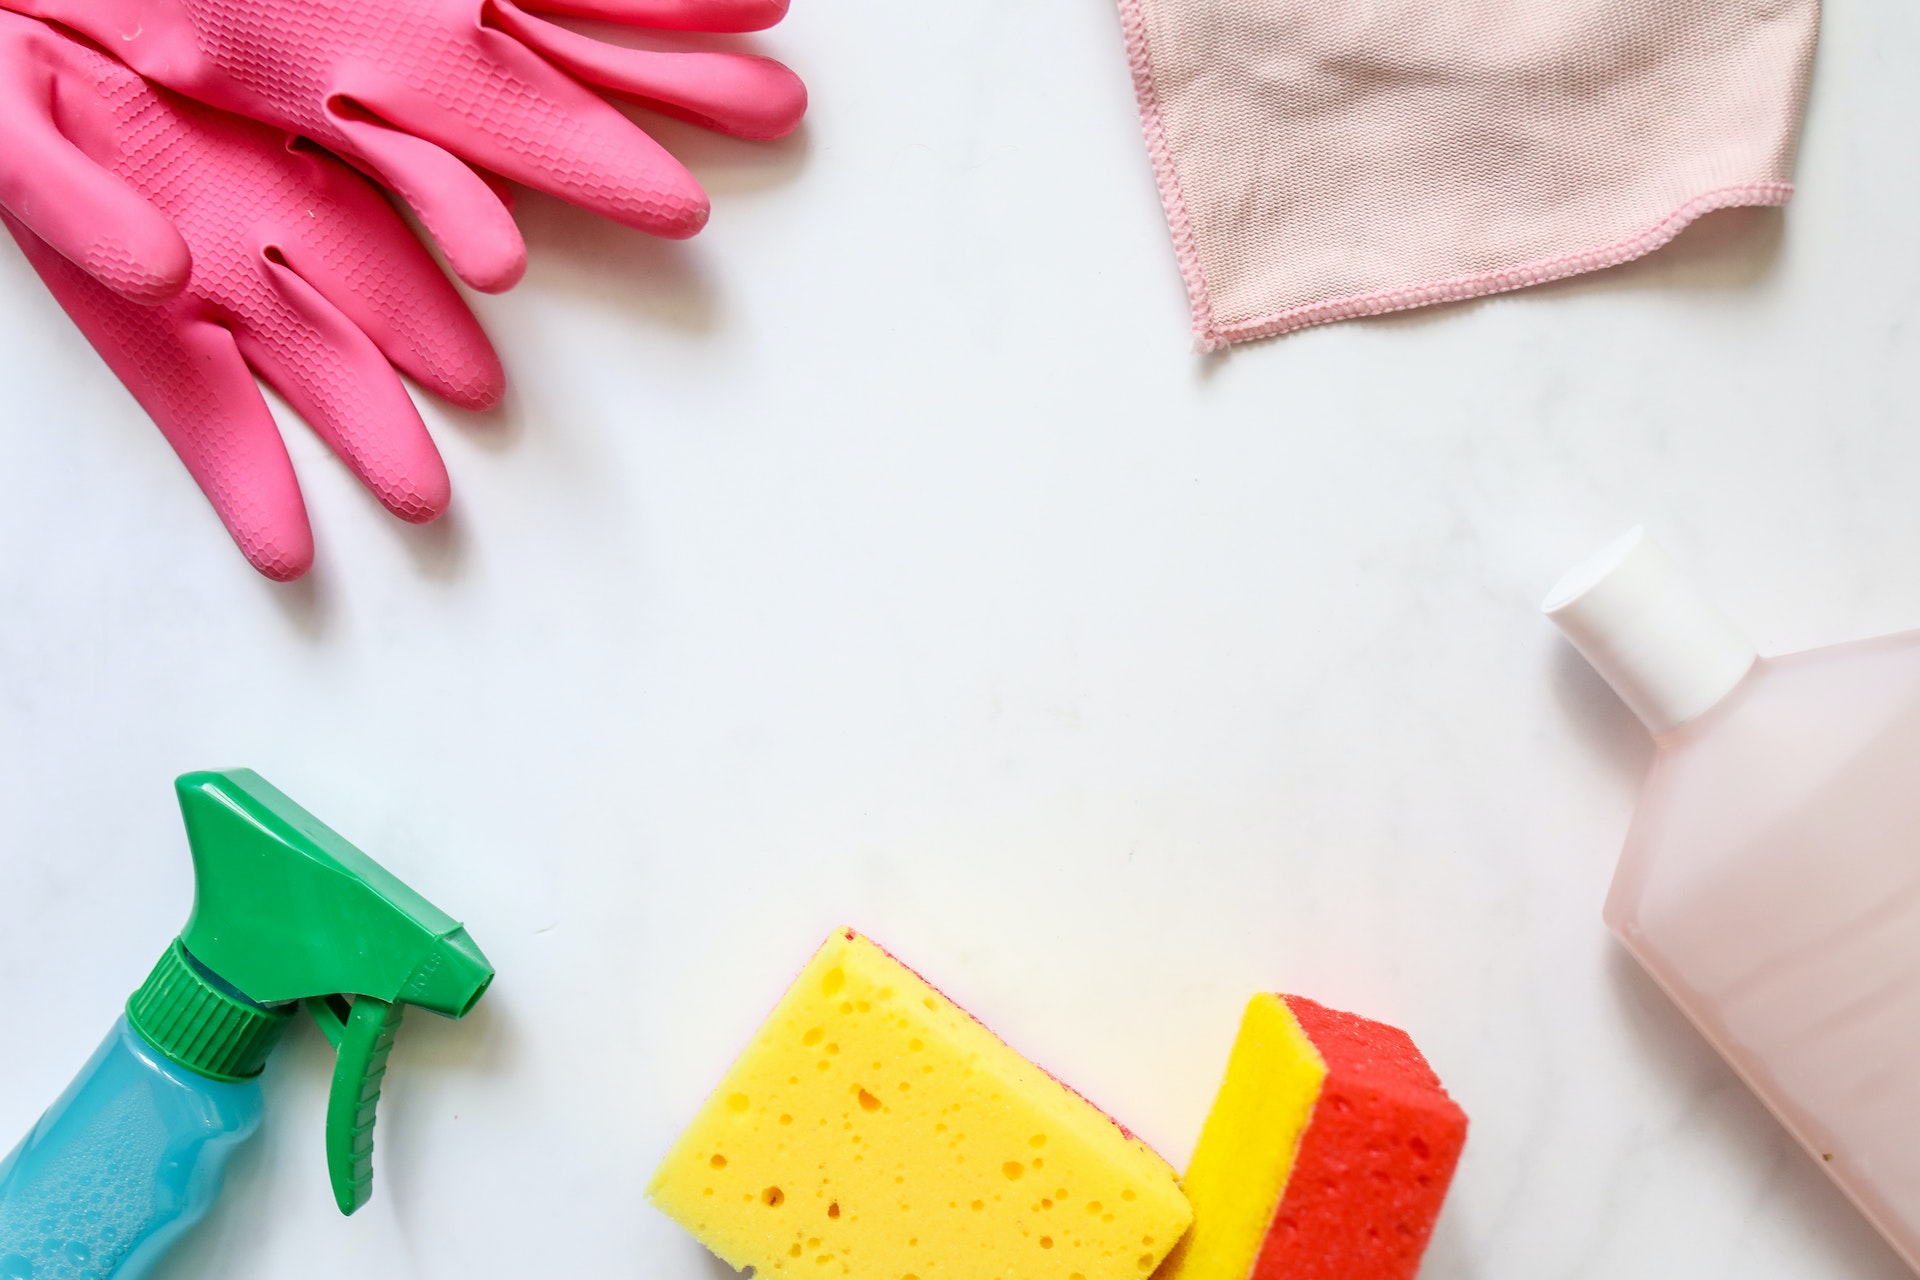
As a safeguard against harsh cleaning products like bleach and ammonia, here are some protective gear items to avoid potential accidents:
- Gloves
- Protective eyewear
- Cap to cover your hair
- Respirator to protect against ammonia fumes
- Slippers/Cleaning shoes
- Old clothes
What causes mold on shower caulk?
Black mold is caused by fungal growth, and it starts growing in areas with warm, humid environments, making bathrooms one of the common places. Its preferred food is cellulose which is found in wood, paper, drywall, shower curtain, and particleboard.
These are all present in the bathroom, and when the relative humidity level remains above 60 percent, the spores will attach to the shower caulking and multiply.
It finds its way in the smallest of places, like behind the grout or caulking, which is why you need to clean it effectively, even in the parts you can’t see.
How to remove mold from shower caulking with vinegar?
Vinegar is an effective cleaning agent as it contains acetic acid that removes the visible black mold and clears the spores and microbes you can’t see so that it doesn’t come back.
It is also known to kill 82% of spore species and can effectively clean all medium and mild mold stains. You can use cleaning-grade white vinegar as it’s cheaper than regular food vinegar.
Cleaning materials you’ll need:
- Vinegar
- Spray bottle
- Sponge or wet cloth
- Brush
- Bowl
Step 1: Pour vinegar into the spray bottle
Take a cup of vinegar and pour it into the spray bottle. If you have a larger area to clean, you may take more.
Step 2: Spray the vinegar on the mold
Spray the vinegar all over the shower caulk and other affected areas. Ensure to cover even the tiniest areas where the vinegar can get absorbed and kill any trace of mold. Let it sit for an hour or more.
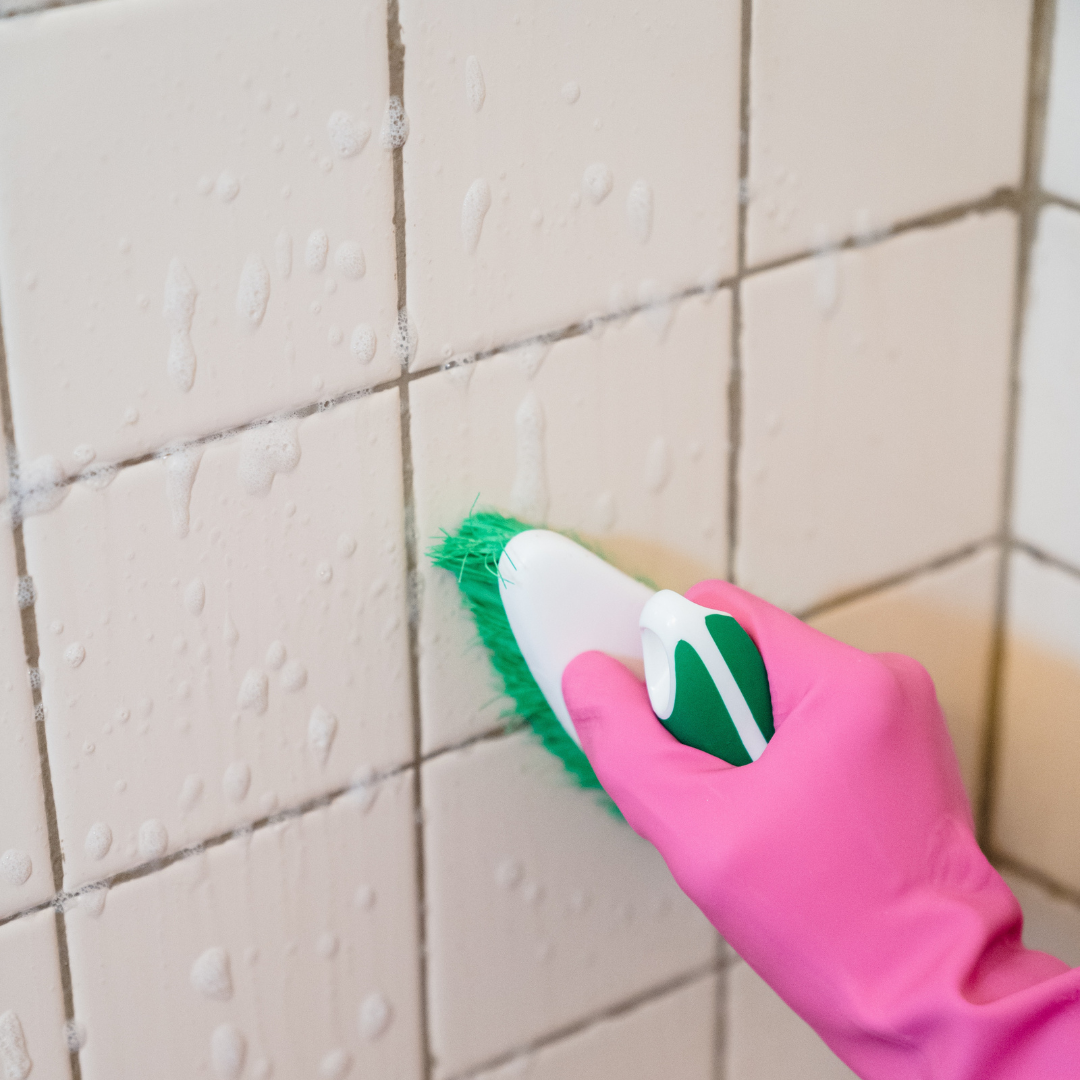
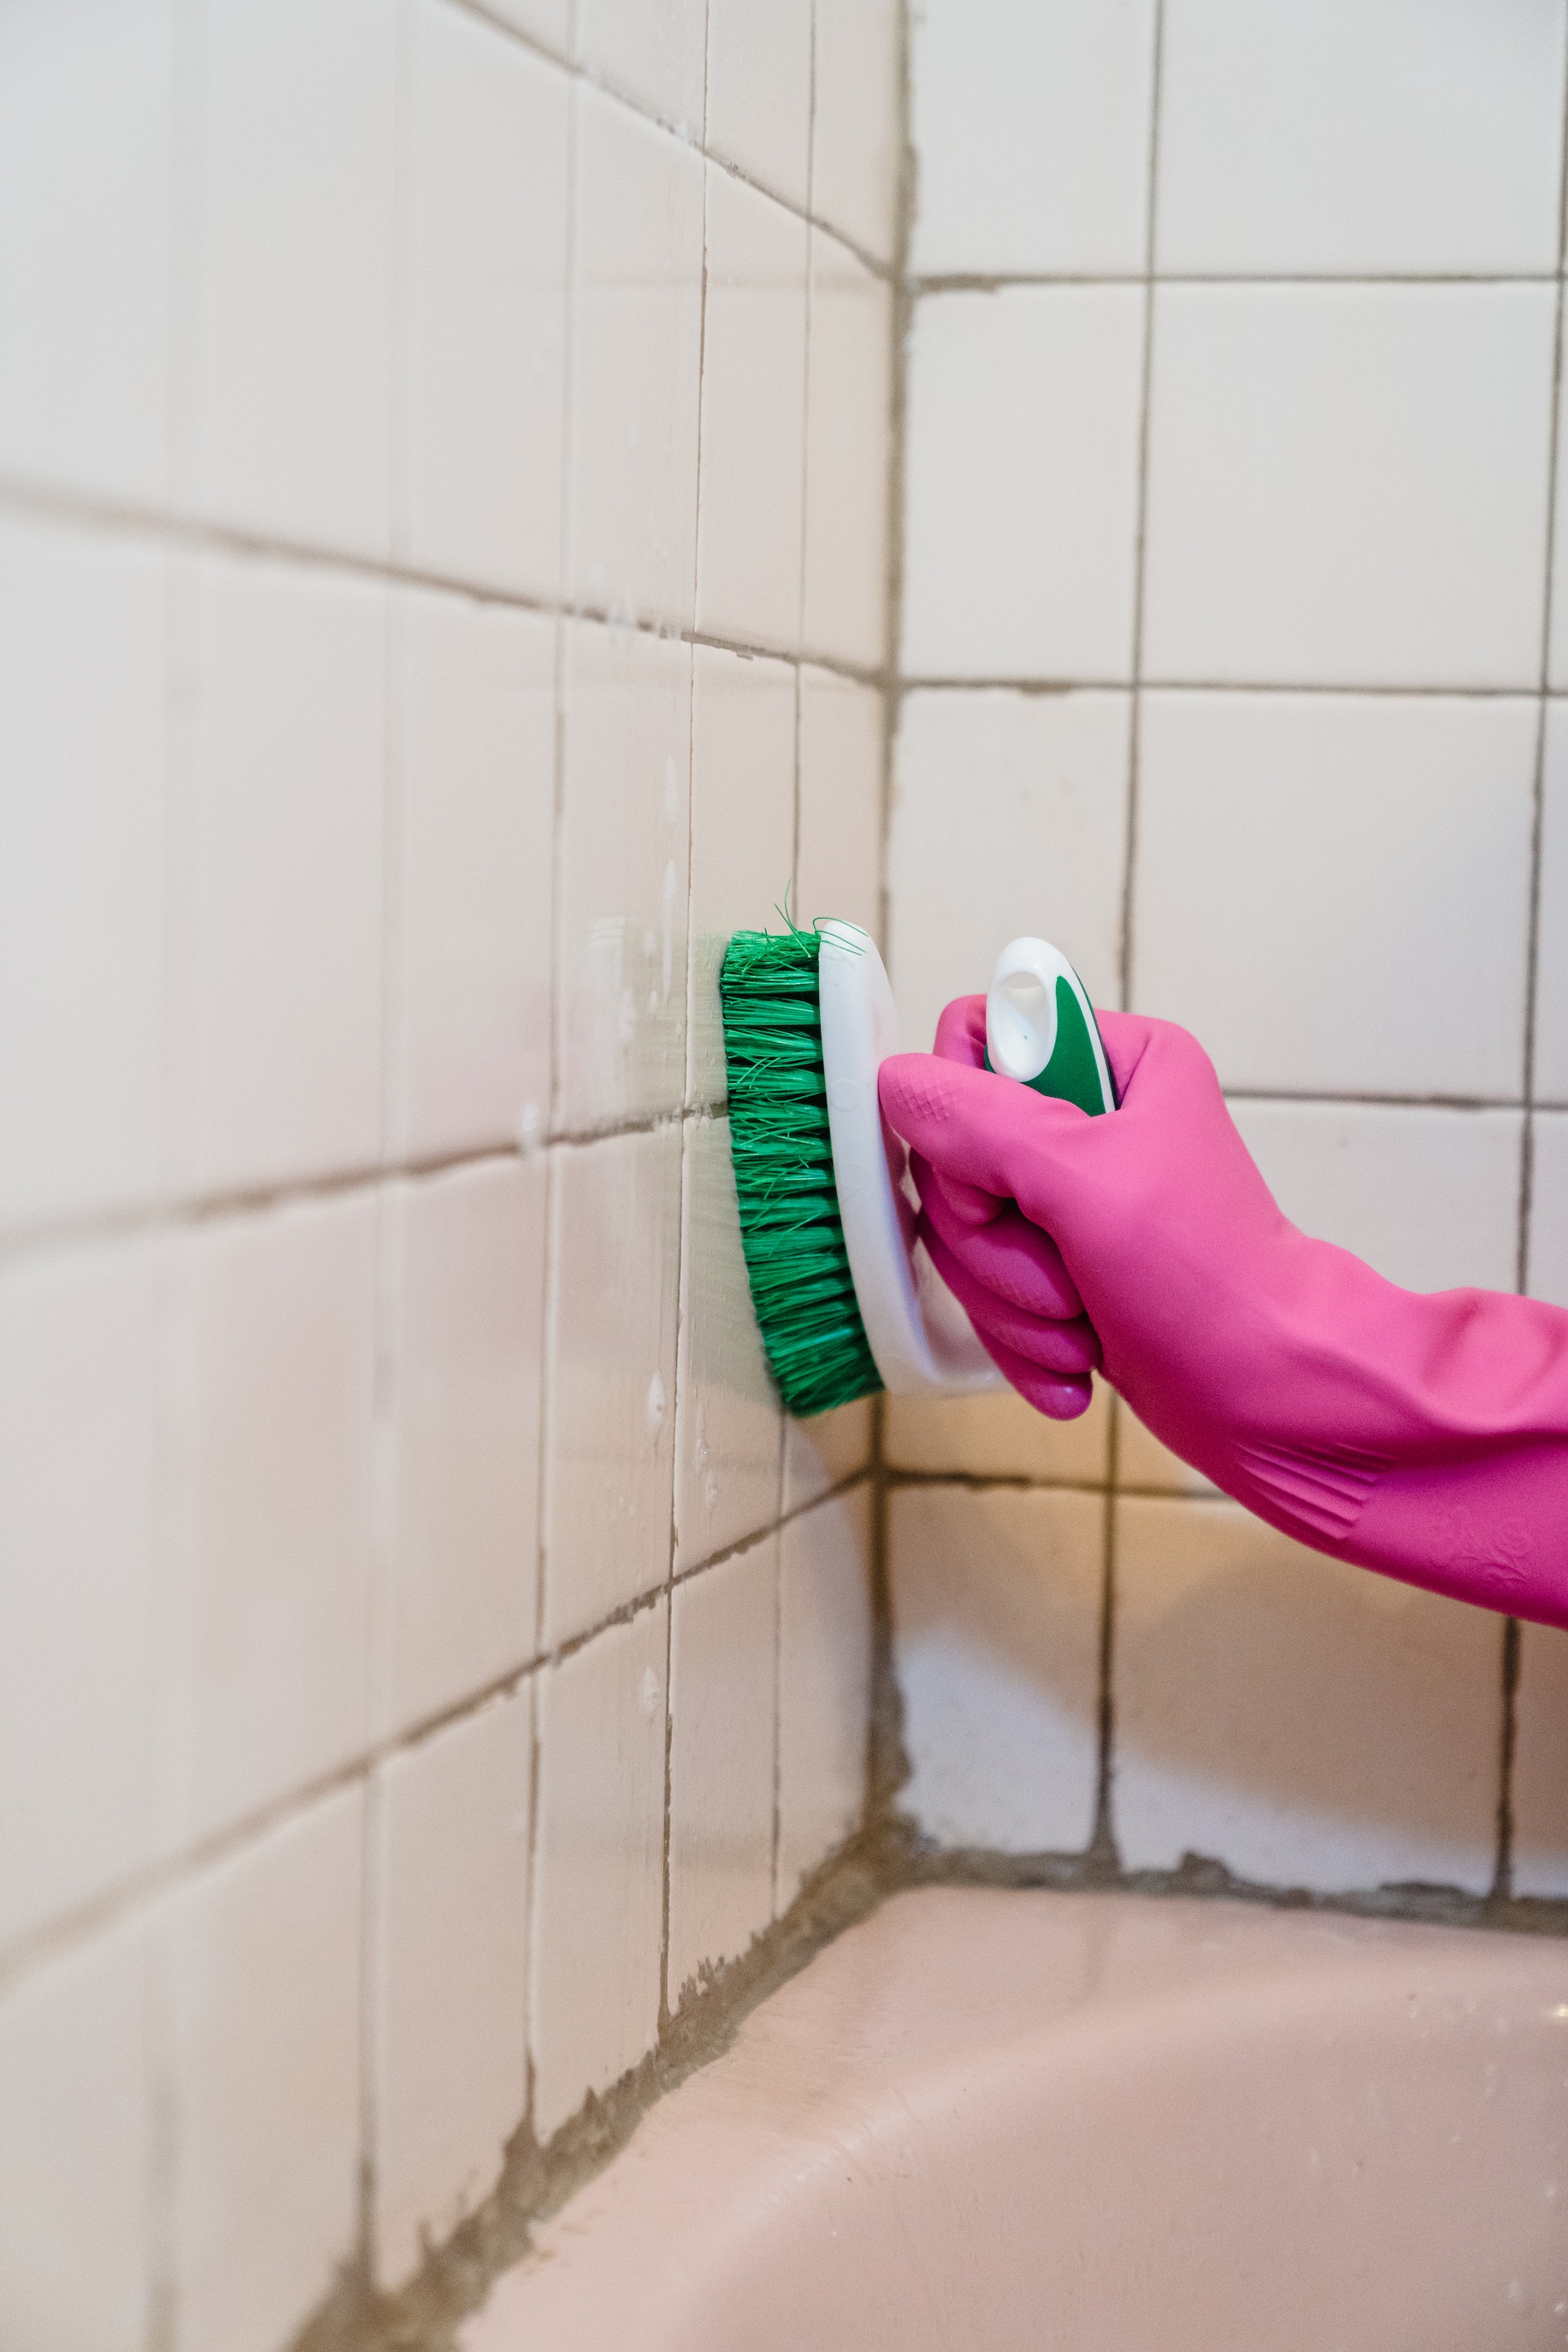
Step 3: Scrub using a brush
After letting the vinegar work its magic, you can scrub using an old toothbrush, and you’ll find that the mold starts coming off.
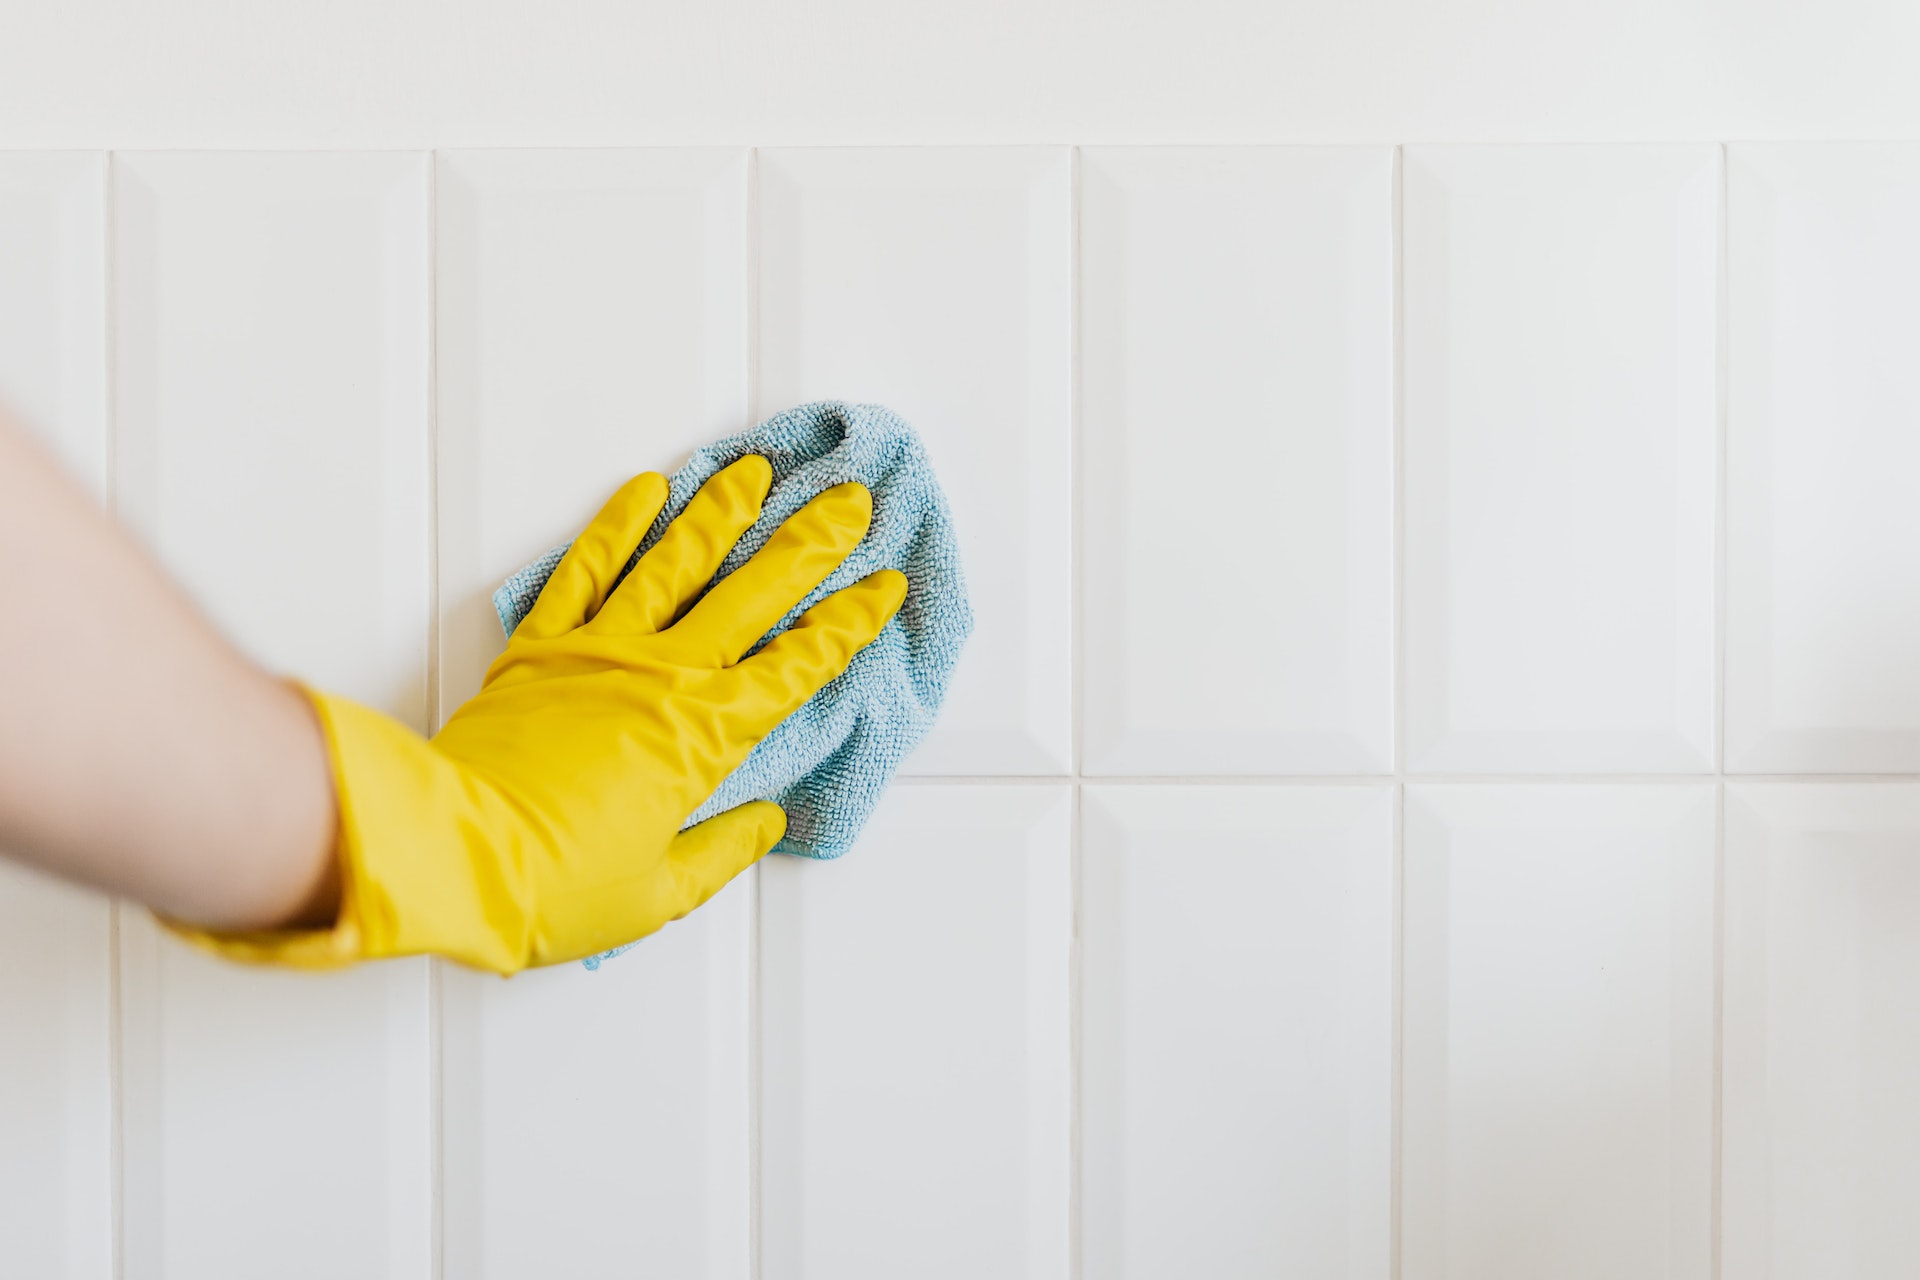
Step 4: Wipe with a sponge
Take a bowl of warm water and use that to wipe everything with a sponge or wet cloth.
Step 5: Check for any stains and repeat if necessary
Inspect the area closely; if you find any remaining traces, repeat the entire process twice or more. This may take time, but it’s better than cleaning it again after a week because some spores were left behind.
You can use this same process to clean with hydrogen peroxide as well.
How to remove mold from shower caulking with chlorine bleach?
Chlorine bleach is a powerful cleaning agent, so you should wear all the protective gear mentioned above. It is used for more extensive mold growth. While using it, keep the bathroom window or ventilation open.
Cleaning materials you’ll need:
- Chlorine Bleach
- Gloves
- Mask
- Brush
- Sponge
- Bucket
- Cotton balls
Step 1: Prepare a bleach and water cleaning solution
Prepare the solution in a bucket by following this ratio: 1 cup of bleach with a gallon of water.
Step 2: Apply the bleach solution with a sponge
Wear rubber gloves and cover the sponge with the bleach solution. Apply it to the mold-affected areas and let it stay for an hour or more.
Step 3: Scrub using a brush
Give the affected areas a good scrub using an old toothbrush or something similar. When scrubbing it, you might see mold and mildew coming out.
Step 4: Wipe with warm water
Clean the sponge, dip it in warm water, and wipe off the bleach and mold grime.
Step 5: Check for stains and repeat if necessary
If there is still some mold left, repeat the process again.
Alternative method with chlorine bleach:
Use the same solution that you had prepared earlier. Soak cotton balls in that solution and squeeze some of it out so that it’s damp but not dripping. Put these cotton balls on the caulk and cover the entire stain. As these cotton balls are wet, they’ll stick to them easily.
Keep them for 2-4 hours. Close the bathroom door and keep the fan running and windows open to let aeration happen. Afterward, take a piece of cotton ball and check if the mold is gone. You can then scrub and wipe with warm water.
Note: If this method doesn’t work for you, it could be that the bleach is very old. Get a new bottle if this one doesn’t smell very strong or hasn’t been used in five years.
How to remove mold from shower caulking with ammonia?
Ammonia is the most powerful cleaning agent of all the ones we have mentioned till now. This is why you need to wear proper protective gear, as it can damage your skin and eyes and its fumes are also very strong. Keep your windows constantly open to aid ventilation.
Cleaning materials you’ll need:
- Ammonia
- Spray bottle
- Rubber gloves
- Protective eyewear
- Respirator
- Sponge
- Brush
- Fan
Step 1: Make sure the bathroom is properly ventilated
Open all windows and doors. Turn on the bathroom fan. If you don’t have a fan in your bathroom but have an electric fan in your home, use it to increase the airflow.
Step 2: Wear all the protective gear
Wear rubber gloves, eyewear, and a mask. A regular mask won’t give you any protection against ammonia fumes. You can opt for a respirator. If you don’t have a ventilator or a fan, you should opt for the earlier methods.
Step 3: Pour ammonia into the spray bottle
Pour the required amount of ammonia solution carefully into the spray bottle.
Step 4: Spray on the affected areas
Spray all over the mold growth. Make sure you spray extra on the corners and areas where the growth is marked. Let it stay for at least 10 minutes.
Step 5: Scrub and wipe
Give the caulk a good scrub after 10 minutes. Wipe the mold, and other grime with a wet sponge dipped in warm water.
Step 6: Check for stains and repeat if necessary
Check for any mold that is left and repeat the process if required.
Caution: Never mix bleach with ammonia. When combined, they can give off fumes that are poisonous to breathe.
How to prevent mold from coming back?
Cleaning mold is not how you want to spend your time. Once you successfully remove it, you want to prevent it from returning. If you have never had mold in your bathroom, the following tips become even more important.
-
Ventilate the bathroom properly: Humidity is one of the main reasons mold grows. Use an extractor fan and keep the windows open after showering to allow the humidity to dissipate.
-
Do not leave wet towels in the bathroom: You don’t want to allow any humidity to seep in, so removing wet towels from the bathroom is a good idea.
-
Install a dehumidifier: If the humidity in your bathroom is difficult to remove, you can install a dehumidifier. You’ll need to empty it regularly if the humidity is high.
-
Dry shower walls and tiles: After using the shower, consider wiping the shower walls and tiles to keep the humidity levels in check.
-
Install a humidity meter: To be on the safe side, install a humidity meter that monitors the humidity levels in your bathroom. The level should remain below 60%. Keep a note of when the humidity level rises and do things to keep it in check.
-
Clean regularly and strategically: You should clean the bathroom weekly so that stains and mold do not start infesting. While cleaning, you might be tempted just to spray some water. But this water can seep into your bathroom tiles, so always dry the floor and shower walls after cleaning.
When should you replace your shower caulking?
If you can’t remove the mold with the methods described above or if the mold keeps coming back, you might want to replace your shower caulking. You can opt to buy mold-resistant caulking like acrylic caulk.
Before you fit a new one, give the area behind the caulk a good clean.
Once you fit the new caulk, Bravo! Your job is done but make sure you take extra care so that mold does not pester you again.
If you want to get your bathroom and home deep cleaned, contact us at Homero. We will make your home spotless for the upcoming festivities and the new year. Also, don’t miss the exclusive discount on your first booking!
Subscribe to our newsletter
And save $25 on your first booking!


